- Home
- Replacement Artwork,logos,etc Available
- The Allwin Arcade
- Trade Stimulators
- The Strange & Unusual
- The Aristocrat Collection
- The Bally Collection
- The Bell-Fruit collection
- The BDR/BMR Collection
- The Bryans Collection
- The Buckley collection
- Caille Brothers Collection
- Working Models
- The Groetchen collection
- The Hawtin's Collection
- The Jamieson's Collection
- The Jennings collection
- The Mills Collection
- The NSM (Bingen) Collection
- The Oliver Whales Collection
- The Pace Collection
- The Parkers Collection
- The Rock-ola collection(slot machines)
- The Ruffler & Walker Collection
- The SEGA Collection
- the Shefras collection
- The TH.Bergmann Collection
- The Tom Boland collection
- The Watling collection
- The Whittaker Bros Collection
- the Wondermatics collection
- The Wulff Collection
- The Juke Box Age
- Coin Operated Cranes & Diggers
- Coin Operated Shooting Games
- Coin Operated Weight Scales
- slot machine coins & tokens for sale
- Amusement Arcades from the Past
- The British Seaside Pleasure Pier
- The Market Place
- Coin Operated Related Seaside Postcards
- See a Selection of the More Complex Machines at Work
- Stuart Dale's Imperator Rebuild
- Stuart Dale's Steam Shovel Project
- The "Allwin" Machine
- Useful Links
- The Rye Heritage Ctr Collection of Working Models
- Williamson's Vintage amusement arcades
- Contact Us
The Imperator Project

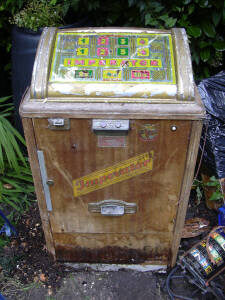

This very sad looking slot-machine was made in Germany in 1957 by Tho.Bergman & co.
It is a floor standing machine called The Imperator, and as you can see it has been stored
outside under a plastic sheet for quite some time and although it is mechanically complete
it has suffered some water damage to the lower part of the cabinet.
When this machine was offered to me by a fellow collector I could not resist the challenge to get it working and restoring it back to its former glory,
 '
' 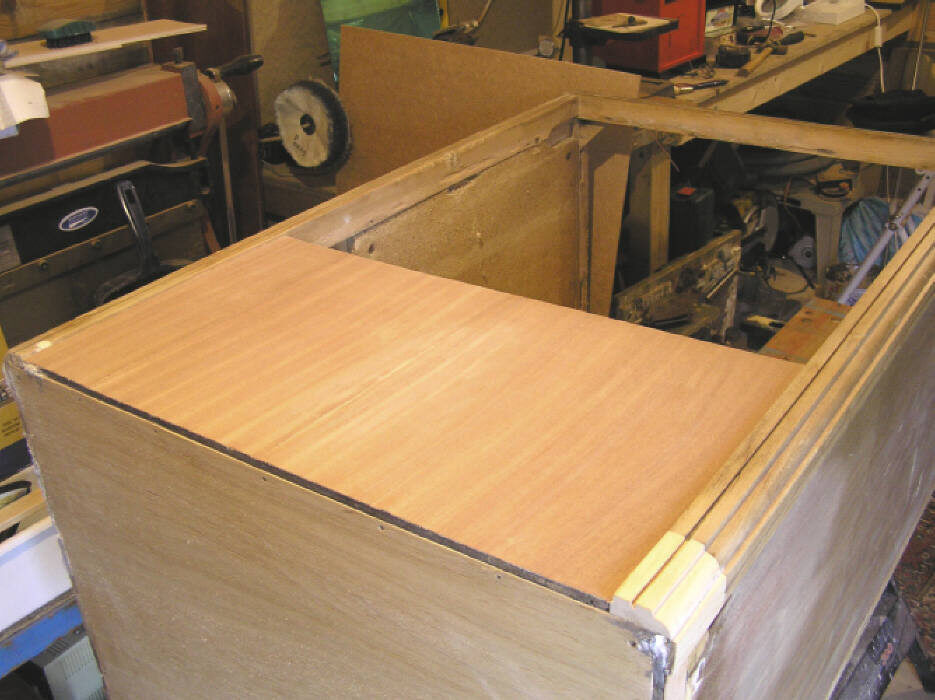
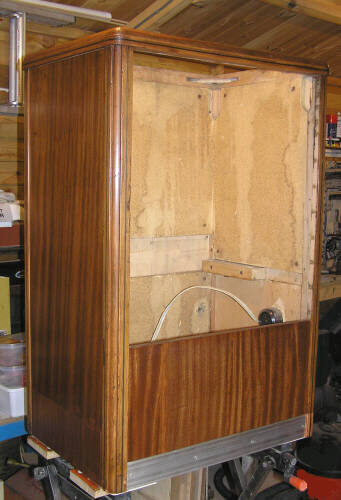
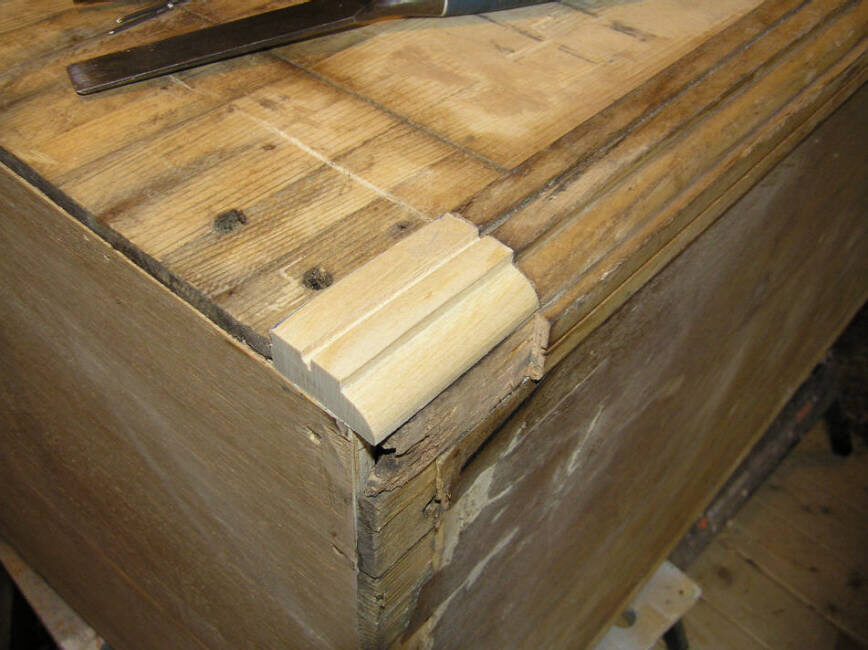
As you can see from the above photos most of the repair work to the main cabinet
has now been done. I had to fit a new plywood bottom and also replace some of the
lower veneer, I have retained as much of the original as possible, the cabinet has
been given four coats of wax so far.
New Lamps For Old
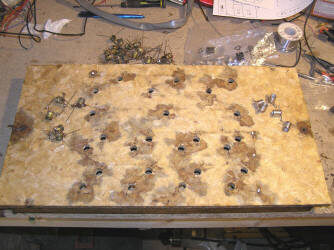
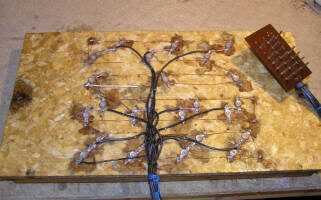
As I was working my way through the mass of switches and wiring of this machine
I found that time had taken its toll on some of the lamp holders and
the multipoint plugs and sockets. Some of the brass sockets had broken away from
the bakelite mount, it took me several days to fix them all back in there correct
positions, I also decided to replace and rewire all of the 25 lamp holders due to rust
problems, I managed to find some perfect replacement lamp holders, and I am
happy with the results, and hopefully the machine should be good for another
50 years service. Please see the before and after photos of the main display unit.
Think of a Number
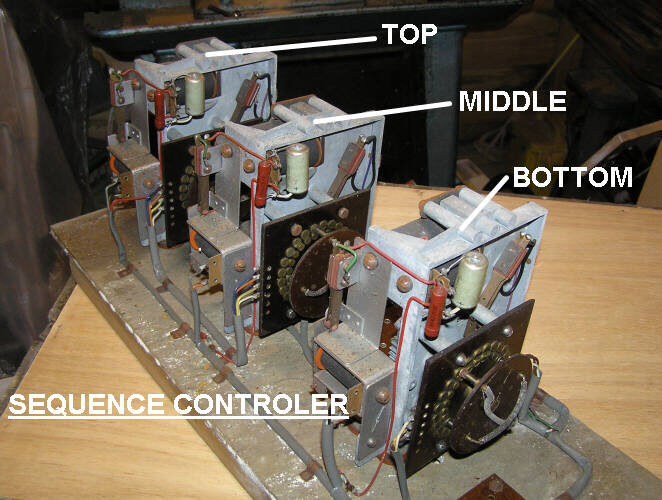
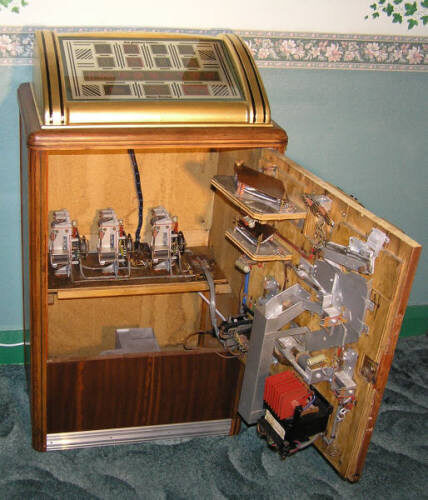
Now we come to the brains of the machine, this consists of 3 uni selector switch units,
and as you can see from the photos each row of numbered lights on the main display
glass has its own uni selector switch unit, this gives a totally random and independent
sequence of lights and payouts each time the machine is set in motion. In addition to
this there are two uni selector override buttons on the front of the machine, They can be
pressed one at a time by the player to stop the light sequence on any one of the top two
rows, to try and increase the chances of getting a winning sequence
A Game of two Halves
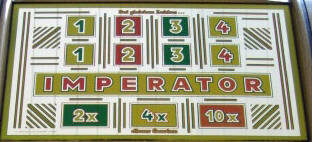
We have all been there! You have a good-looking machine in your collection and
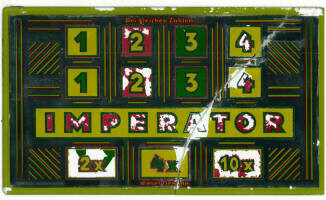
it is let down by a damaged display glass. This machine came to me with just such a
problem, the main mirrored display glass was broken in two and the paint was flaking
off the underside. What to do??? Well first I looked for an off the shelve replacement,
I soon found I had more chance of winning the Lottery than finding one in good
condition. The only thing left was to make a new one using the old glass as a
template, I got a local firm to do a high resolution scan of the old glass, and with
the aid of my computer and a copy of “The Idiots Guide to Photoshop” I set to cleaning up
the image,I have never done this type of thing before and it took me quite a long time to
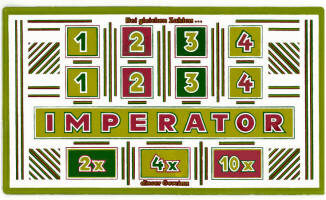
get the image to a point were I was happy with it, if you look at the before and after photos
you can see the results for yourself, I am now working on the best technique for transferring
the image to the new glass, but more of that later.
The End!
After a lot of trial and error I have been able to reproduce a replacement
for the broken display glass, I got a local company to print a copy of my artwork on to
some clear acetate sheet, this was then placed between two sheets of glass along with a
backing of mirrored vinyl with holes for the light to shine through, the edges were then
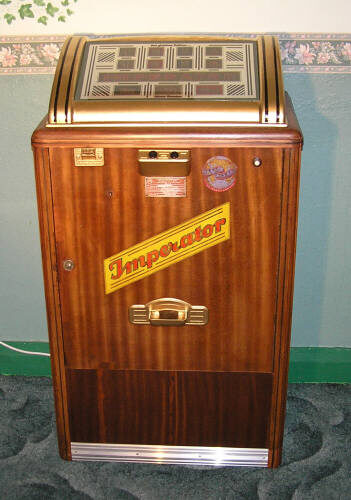
sealed with clear silicone, the results are quite convincing. If you look at the following two
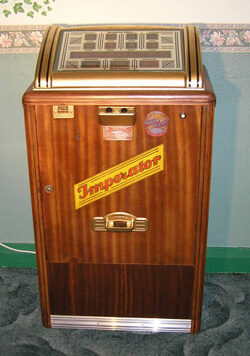
photos you can see how the project has turned out. The replacement veneer looks a better
match in real life,the camera sees the colours in a different way to the eye.
And I am happy with the way it has turned out.
And here it is in action
